+1 (855) 645-7684
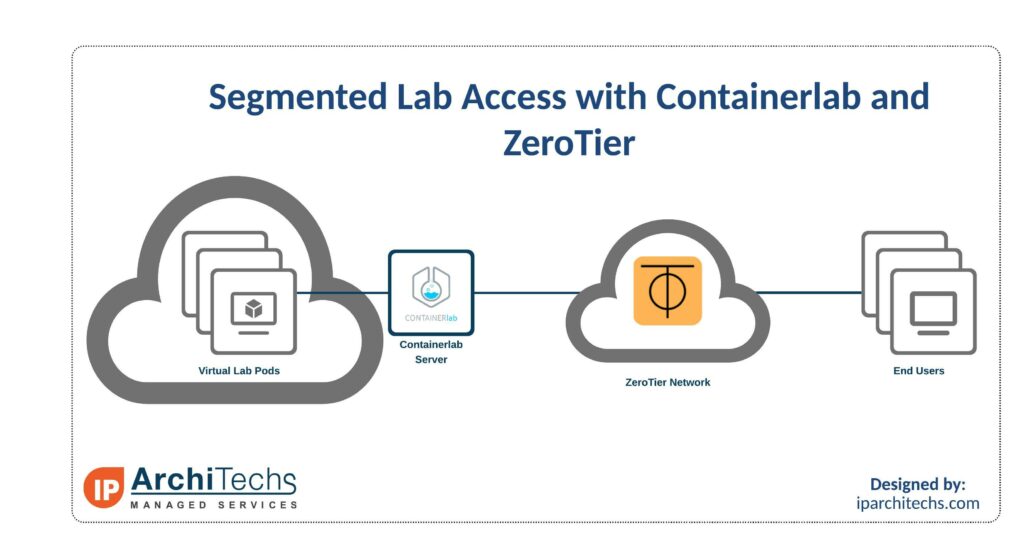
Introduction
When building out network labs, often multiple people will need access to the lab. The main way right now is to use something like EVE-NG or GNS3 to provide access.
There are 2 downsides to this method. The first is that your server is exposed to the internet and if your usernames/passwords aren’t strong enough, your server can become compromised. The second is that sometimes you may not want everyone to be able to add or edit to the lab topology.
The solution to this is using Containerlab and ZeroTier. This setup is great for things like testing new hires, training classes, or for providing lab access to others on a limited basis.
What is Containerlab?
Containerlab is a container orchestrating tool for managing container-based networking labs. It doesn’t just support Container based Network Operating Systems though. Through vrnetlab, there is support for a wide variety of commonly used NOSes: Mikrotik RouterOS, Nokia SROS, Juniper vMX and vQFX, and many more.
Configs are text based making it easy to add/update links between nodes. The lab does need to be destroyed and redeployed when adding/removing links. With some tools to generate configs, it’s easy to spin up a 500+ node lab in under 30 minutes.

What is ZeroTier?
ZeroTier is a mesh VPN that allows for Layer 2 connectivity. It is typically used in a remote worker scenario to provide access to internal company resources. In our case, we use it to provide remote lab access.
Setting it up
This assumes that Containerlab and ZeroTier are already setup on the lab server. One thing that will be needed on the lab server is to enable ip forwarding. Otherwise, the lab server won’t be able to forward packets.
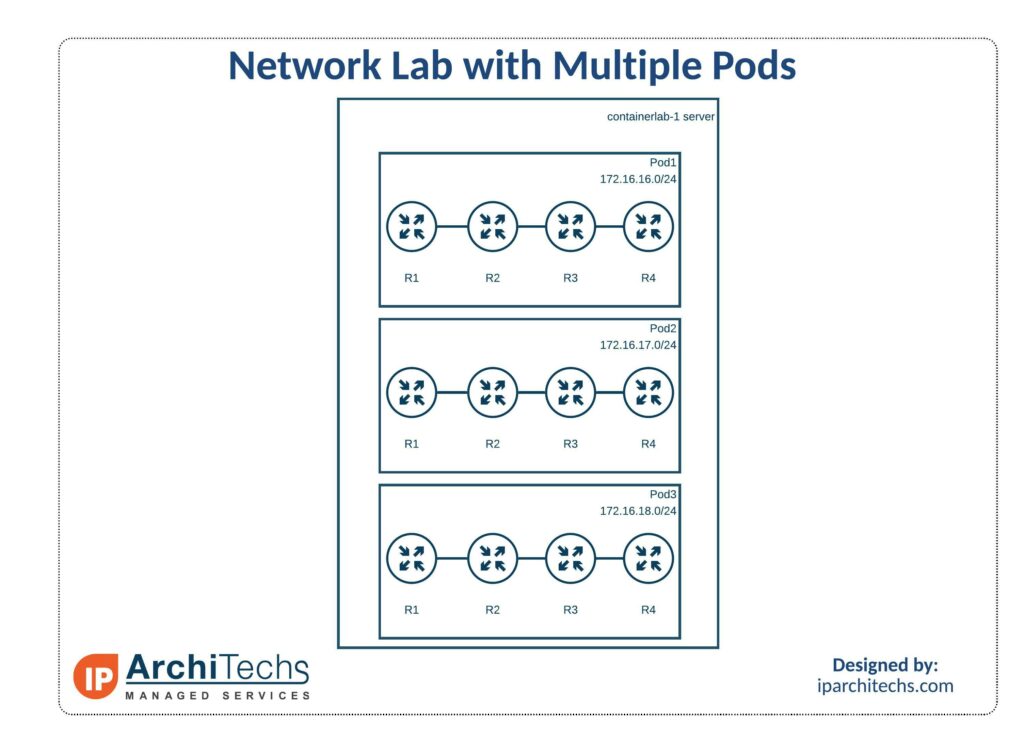
Sample labs showing the changes needed between labs are available in a repo. The main differences between the labs are the lab names and management networks. In the sample labs, we hardcode the management IP addresses to make access easier. This isn’t necessary but makes it easier when not using DNS.
Once the labs are deployed, you should be able to SSH into all of the nodes from the server.
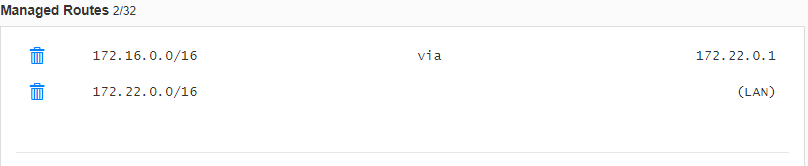
Then you need to setup a ZeroTier network. The first step is to add a route to the managed route pointing from the lab network to the server IP address (we set the server IP address to 172.22.0.1).
If you’re not worried about preventing cross pod access, you are all set. But if you want to secure access to each pod to prevent end users from accessing each others lab pod, some rules need to be added to the ZeroTier network. Those can be found in the GitHub repo file named zerotier.rules.
Then you can set your server to prevent user to user traffic.
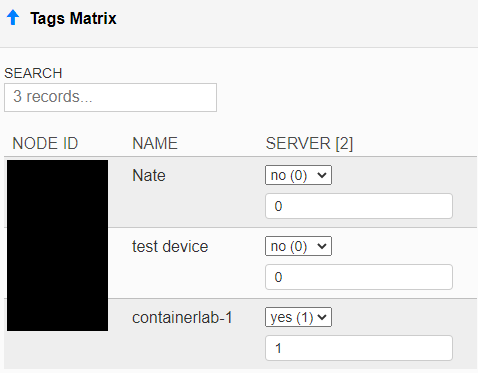
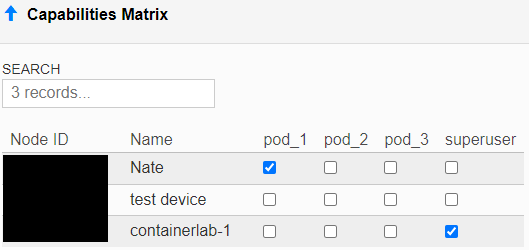
To provide user access to their pod, select the correct capabilities for the pod
Using the lab
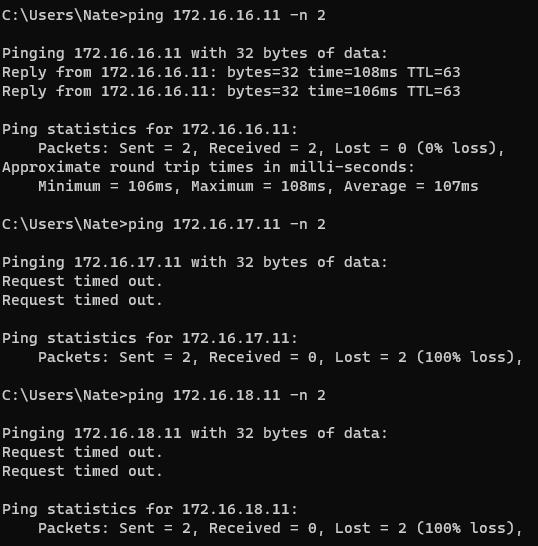
With the lab setup with the security features, you should be able to access the nodes via SSH or Winbox.

With the ZeroTier rules in place, you are not able to reach the other running pods.